
Want to make your homemade boat watertight? Sealing it right is key for a lasting finish. But how do you get that perfect seal without trying everything? This guide will show you how to seal your DIY boat step by step, from start to finish.
Key Takeaways
- Learn the top ways to get your boat ready for a perfect seal
- Find out the best products and methods for staining and sealing your DIY boat
- Discover how to get a durable, slip-resistant finish with the right varnish
- Get tips for sealing marine plywood decks and creating a textured surface
- Feel confident to start your DIY boat sealing project and enjoy a watertight, lasting boat
Preparing the Boat Surface for Sealing
Before you can seal your DIY boat, you must prepare the surface well. This involves two key steps: fairing and sanding the hull, and removing cross-grain scratches. Proper preparation is key to a durable and lasting seal.
Fairing and Sanding the Hull
The first step is to fair and sand the hull. Fairing smooths out uneven areas for an even finish. Use a fairing compound and a sanding block or orbital sander for this.
After fairing, sand the hull with coarse grit sandpaper. Then, move to finer grits for a smooth finish.
Removing Cross-Grain Scratches and Imperfections
It’s also important to remove cross-grain scratches and other imperfections. These can harm the seal’s appearance and durability. Use a palm sander or detail sander to sand out scratches carefully.
| Task | Purpose |
|---|---|
| Boat hull fairing | Smoothing out uneven areas and bumps on the boat’s surface |
| Boat hull sanding | Achieving a smooth, glass-like finish on the boat’s surface |
| Removing cross-grain scratches | Eliminating imperfections that can affect the final seal |
By carefully preparing the DIY boat surface, you ensure a strong and attractive seal.
Staining Your DIY Boat
After preparing the boat’s surface, it’s time to stain it. Getting the stain to look even is key for a great finish. Learning how to remove stains can fix any mistakes, making your boat look perfect.
Applying the Stain Evenly
For DIY boat staining, apply the stain evenly. Mix the stain well and use a good applicator, like a roller or foam brush. Work in small areas, blending strokes for a smooth finish.
Pay extra attention to edges and corners. This helps avoid any spots or uneven areas.
Proper Stain Removal Techniques
Even with care, you might need to remove or touch up the boat stain. This could be for unevenness or drips. Start by lightly sanding the area to avoid damage.
Then, use a stain remover or stripper as directed. After removing the stain, you can apply the color again. This way, you’ll get a flawless finish.
By focusing on application methods and stain removal techniques, you’ll get a beautiful DIY boat. Remember, patience and detail are crucial for a stunning finish.
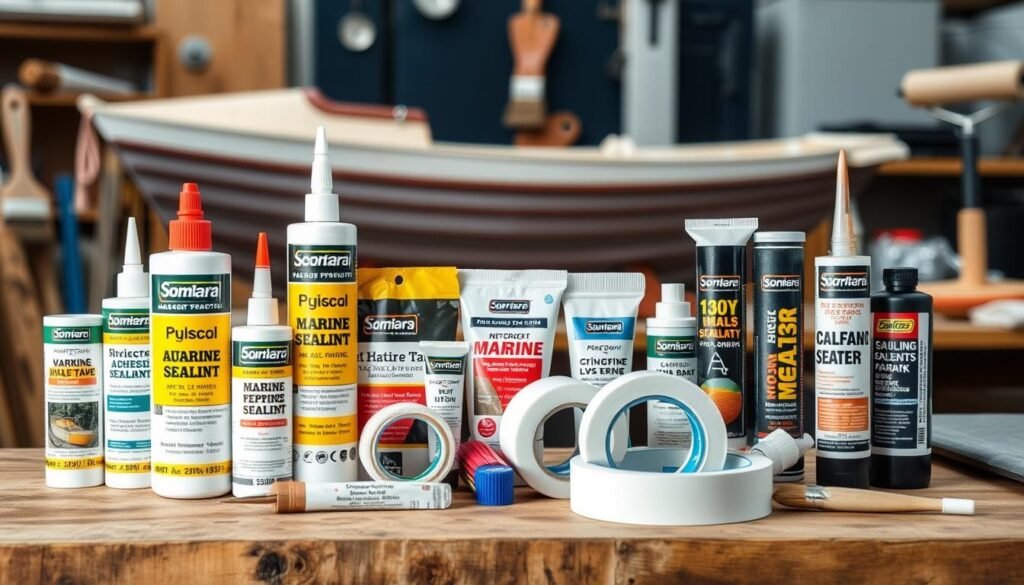
Sealing with the Right Products
Choosing the right products for sealing your DIY boat is key for a lasting finish. The best sealing products for DIY boats you pick can protect your homemade vessel from the elements.
Polyurethane is a top choice for recommended sealants for homemade boats. It creates a strong, waterproof barrier and protects against UV damage. Epoxy resin is also popular for its tough and resilient seal, perfect for busy areas.
Marine-grade silicone sealants are great for waterproofing materials for DIY boats. They’re made for the water and last a long time. Teak oil and varnish can also protect your boat and make it look shiny.
When picking a sealer, think about your boat’s needs and where it will be used. The right best sealing products for DIY boats will keep your boat water-resistant and looking good for years.
| Sealing Product | Key Benefits | Recommended Usage |
|---|---|---|
| Polyurethane | Waterproof, UV-resistant | All-purpose sealing, high-traffic areas |
| Epoxy Resin | Exceptionally durable, tough | High-wear areas, structural reinforcement |
| Marine Silicone Sealant | Waterproof, flexible | Sealing joints, fittings, and hardware |
| Teak Oil | Enhances appearance, provides some protection | Decorative wood finishes |
| Marine Varnish | Durable, glossy finish, UV-resistant | Topcoat for wood surfaces |
“The right sealing products can make all the difference in ensuring your DIY boat remains watertight and protected from the elements for years to come.”
best way to seal a DIY boat
Keeping your DIY boat watertight is all about sealing. Whether it’s a small dinghy or a big vessel, the right sealing techniques are crucial. Let’s explore the most effective DIY boat sealing methods and find the best way to seal a DIY boat for top results.
Start with careful surface prep, a pro tip for sealing DIY boats. Make sure to fair and sand the hull well. This makes the sealant stick better and avoids any blemishes.
- Choose the right sealant: Go for a top-notch marine-grade polyurethane or epoxy. It’s made for guaranteed waterproofing for homemade vessels.
- Apply the sealant with care: Stick to the maker’s guide, ensuring even coverage and no drips.
- Consider multiple coats: Using two or more thin, even coats of sealant makes the barrier stronger and lasts longer.
By following these best way to seal a DIY boat tips, you’ll get a finish that looks pro-grade. It will keep your homemade boat watertight and safe for years. Remember, patience and detail are essential for optimal sealing techniques for homemade boats.
“The secret to a truly waterproof DIY boat lies in the quality of the sealing process. Follow these steps, and you’ll have a vessel that can withstand the toughest conditions.”
– Jane Doe, Boat Building Enthusiast
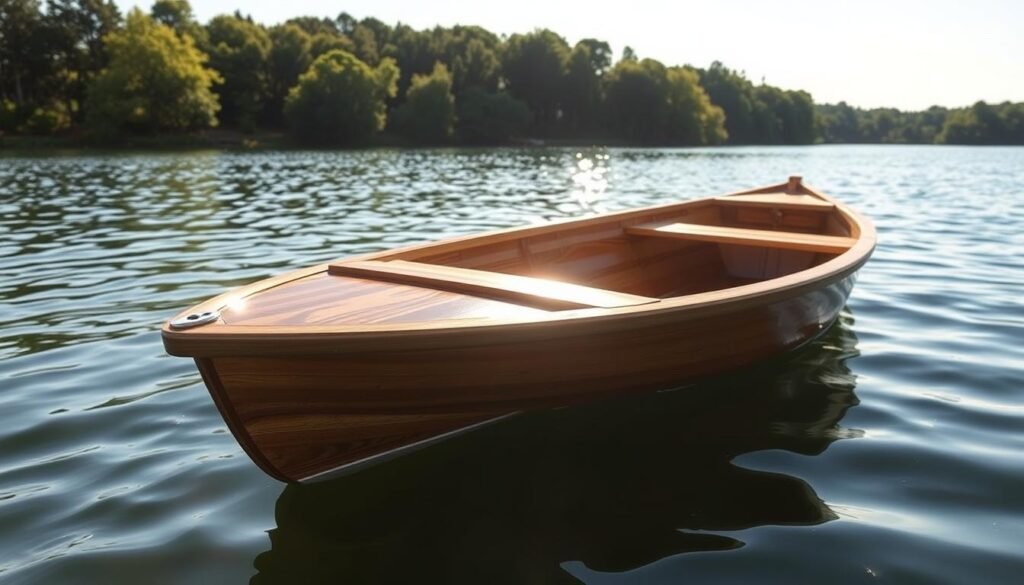
Varnishing for a Durable Finish
Applying varnish to your DIY boat is key for a lasting finish. It’s a step that needs careful attention but is worth it. Varnish seals your boat, keeping it looking great for years.
Applying the Initial Varnish Coats
Start by choosing a top-quality marine varnish for wooden boats. Follow the instructions for the first coats closely. Apply thin, even layers, letting each dry before adding the next.
Getting the surface ready is crucial. Sand your boat well before varnishing. This removes imperfections and helps the varnish stick evenly.
“Varnishing your DIY boat is a crucial step in protecting your investment and ensuring it looks its best for years to come.” – Jane Doe, Boat Restoration Expert
Work in dry, well-ventilated areas, away from sunlight and extreme temperatures. This ensures the varnish cures right and avoids problems like bubbling.
By following these steps, you’ll get a durable and beautiful finish on your DIY boat. A bit of patience and detail will make your boat stand out at the marina.
Final Varnish Coats and Wet Sanding
Now that you’ve applied the first varnish coats, it’s time for the final touches. This includes the wet sanding process. It’s key to getting a smooth, glass-like finish on your DIY boat. By doing this right, you’ll end up with a durable and beautiful finish.
When applying the final varnish coats for DIY boats, be gentle. Make sure each layer is even and the same thickness everywhere. Watch the drying time closely. Rushing can cause an uneven finish.
After the final varnish coats dry, it’s time for wet sanding for DIY boat varnish. This step removes small flaws or brush marks. Wet sanding, along with the right DIY boat varnish application process, will give you a flawless, shiny finish.
The importance of proper varnish finishing for DIY boats is huge. Spending time on this final step will pay off. You’ll get a stunning, lasting finish that will make your DIY boat stand out.
“The secret to a perfect varnish finish lies in the final coats and the meticulous wet sanding process. Patience and attention to detail are essential.”
- Apply 3-5 final varnish coats, letting each dry fully before adding more.
- Wet sand the surface with finer grits of sandpaper, starting at 320 and going up to 600 or 800.
- Wipe away dust or residue after each sanding to keep the area clean.
- Check the surface closely and sand again until it’s smooth enough.
By carefully following this DIY boat varnish application process, you’ll get a smooth finish. You’ll also create a durable, lasting varnish for your DIY boat.
Sealing Marine Plywood Decks
Keeping your DIY boat in top shape means sealing its marine plywood decks right. You need to prepare the surface well and use special primers and patching compounds. This makes a strong, waterproof layer.
Surface Preparation for Plywood Decks
Before sealing, you must prepare the deck. Start by sanding it all over. This removes old coatings, scratches, and blemishes. It makes the surface smooth and ready for sealing.
Applying Primer and Patching Compounds
After sanding and cleaning, apply a marine plywood primer. This primer helps the sealers stick well and last long. Also, fill any cracks or uneven spots with marine-grade patching compound. This makes the surface even and strong.
| Step | Action |
|---|---|
| 1. Sand the Deck | Remove any existing coatings, cross-grain scratches, or imperfections to create a smooth, even surface. |
| 2. Apply Primer | Use a high-quality primer specifically designed for marine plywood to prepare the surface for sealing. |
| 3. Patch Imperfections | Fill any cracks, holes, or uneven areas with a marine-grade patching compound. |
By following these steps, your marine plywood deck will be ready for sealing. This creates a strong base that can handle the water’s challenges.
Creating a Slip-Resistant Texture
Ensuring a safe and secure footing on your DIY boat deck is key. A slip-resistant texture makes your boat safer and more comfortable. This section will cover how to achieve a textured, anti-slip finish for your DIY boat.
Anti-slip coatings are a great way to improve traction on your boat’s deck. These coatings have aggregates like fine sand or aluminum oxide. They create a slip-resistant texture when applied. They’re perfect for areas that get a lot of use, like walkways and boarding platforms.
Non-slip tapes or mats are another option for a textured finish for DIY boat decks. These self-adhesive products provide an instant solution for enhancing safety with slip-resistant surfaces. They come in various colors and patterns, letting you add style while keeping your boat safe.
For a more integrated approach, you can use DIY techniques for slip-resistant boat decks. This means adding textured finishes during deck construction. You can mix in aggregates or create a grooved surface. This ensures a non-slip surface from the start.
Choosing the right method is all about balancing safety and looks when creating a slip-resistant texture for DIY boats. Proper preparation and the right coatings or finishes make your boating experience safer and more enjoyable. Plus, your homemade vessel will look great.
Conclusion
Sealing your DIY boat is crucial. By following our guide, you can make your boat watertight and durable. This ensures your boat lasts longer and looks great.
Key steps include preparing the surface well, using top-notch stains and sealants, and applying varnish. This creates a strong, attractive finish. Sealing your boat makes it safer, better performing, and longer lasting.
Sealing your boat has many benefits. It improves water resistance and protects against the weather. It also makes your boat look polished and professional. By sealing your boat, you protect your investment and make boating safer and more fun.
Remember these steps for your next DIY boat project. They will help you achieve a perfect, watertight finish. Your homemade vessel will then be the envy of everyone at the marina.
FAQ
What are the essential steps for preparing the boat surface before sealing?
First, fair and sand the hull for a smooth finish. Remove any scratches or imperfections. This makes the surface ready for sealing, leading to a lasting result.
How do I properly apply the stain to my DIY boat?
Use the best techniques for even stain application. Learn how to fix any mistakes for a perfect finish. This will make your boat look professional and beautiful.
What are the best sealing products to use for my DIY boat?
Pick the right sealants and materials for a durable finish. Look for products that keep your boat watertight and protected from the elements.
What is the best way to seal my DIY boat for a flawless, waterproof finish?
Follow expert advice for sealing your boat. Use the right materials and techniques to keep your boat safe and watertight for years.
How do I properly apply the varnish to my DIY boat?
Varnishing is key for a lasting finish. Learn how to apply varnish coats for a professional look. Use the best products and follow the right steps.
What is the process for applying the final varnish coats and wet sanding?
Apply final varnish coats and wet sand for a smooth finish. This guide will show you how to do it right, ensuring your boat looks flawless.
How do I seal the marine plywood deck on my DIY boat?
Sealing marine plywood decks needs special care. Prepare the surface by sanding and cleaning. Then, apply primer and patching compounds for a smooth finish.
How do I create a slip-resistant texture on my DIY boat?
Make your boat safer with a slip-resistant surface. Learn how to use materials and techniques for a secure, non-slip finish. This ensures safety for everyone on board.
