
Are you tired of an outdated or uncomfortable boat floor? Building a custom boat floor at home can change your vessel. Wondering how to make a floor that’s durable, water-resistant, and looks great?
Boat floor construction is a cost-effective and customizable way to improve your vessel’s interior. This guide will show you how to build a durable, waterproof boat floor with marine-grade materials and DIY techniques. It can add stability, storage, or a non-skid boat deck surface to your boat.
Key Takeaways – How To Build a Boat Floor
- Building a boat floor at home can be a cost-effective and customizable solution
- Learn the step-by-step process of constructing a durable, waterproof boat floor
- Discover how to use marine-grade materials and DIY techniques for your boat renovation
- Enhance the stability, storage, and safety of your boat with a custom floor project
- Explore the benefits of a non-skid boat deck surface for improved traction and safety
Introduction to Building a Boat Floor
Building a boat floor at home is a rewarding DIY project. It can change the inside of your boat. A custom boat floor adds stability, a secure footing, and space for gear and equipment. This guide will cover the benefits of a boat floor and the steps to build one.
Benefits of Having a Boat Floor
A good boat floor brings many benefits to your boating experience. Key advantages include:
- Improved stability and traction for safer footing
- More storage space for items like fishing gear and life jackets
- Protection from water and weather with a waterproof flooring material
- A custom boat deck installation can also enhance your boat’s look
Overview of the Project
Creating a DIY boat flooring system involves several steps. You’ll need to pick the right materials, measure and cut the plywood, and install a frame. Then, you’ll attach the flooring securely. By following these steps, you can make a durable, lasting boat floor construction that fits your needs.
“With the right tools and materials, you can transform the interior of your boat into a functional, comfortable, and visually appealing space.”
Materials Needed for a DIY Boat Floor
Starting a DIY boat floor project means picking the right materials and tools. You need high-quality, marine-grade plywood to last in the harsh sea environment. Also, you’ll need the right power tools and fasteners for a tight and watertight installation.
Choosing the Right Plywood
For marine plywood flooring, the plywood type is very important. Marine plywood is made to fight moisture, rot, and warping. It’s perfect for boat floors. Make sure to get plywood that’s certified marine-grade and at least 1/2 inch thick for strength and durability.
Required Tools and Supplies
To make your waterproof flooring materials for your boat, you’ll need these tools and supplies:
- Circular saw or jigsaw for cutting the plywood to size
- Power drill and screwdriver bits for securing the plywood
- Carpenter’s square and tape measure for precise measurements
- Waterproof sealant or epoxy to protect the plywood
- Galvanized or stainless-steel screws or bolts for a sturdy installation
With the right cost-effective boat renovations materials and tools, you’re ready to make a durable and nice-looking boat floor. It will handle the marine environment well.
How To Build a Boat Floor at Home
Building a boat floor at home is a fun and cost-saving project for DIY fans. It’s great for fixing up an old boat or building a new one. We’ll show you how to make a custom boat floor that looks good and lasts long.
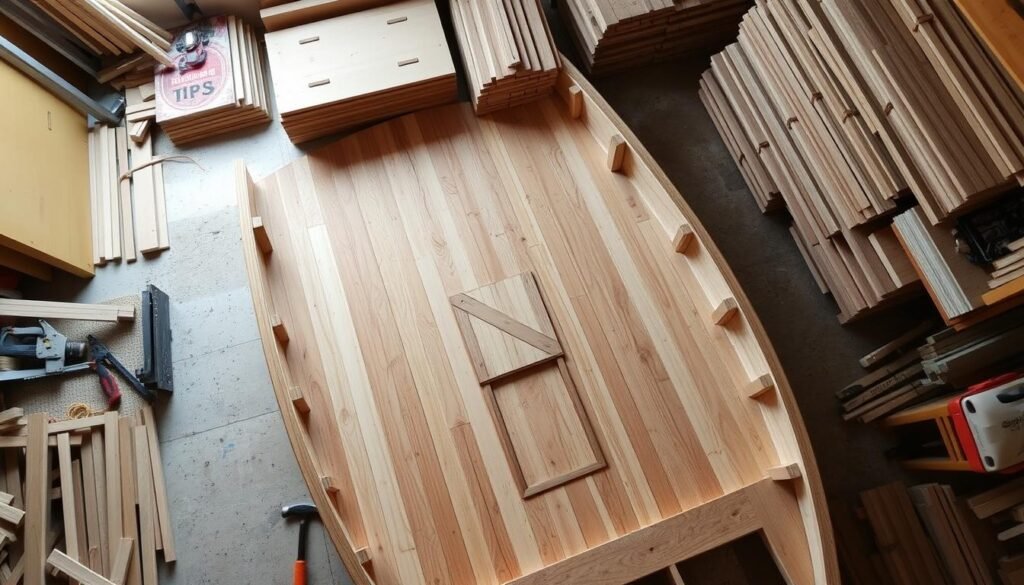
Preparing the Workspace
First, make sure your workspace is clean, bright, and big enough. Get all your tools and materials ready, like plywood, sealants, and fasteners. This keeps things organized and makes the job easier.
Measuring and Cutting the Plywood
Getting the measurements right is key to a good boat floor. Measure the boat’s inside carefully, including any curves. Cut the plywood to fit perfectly. Being careful and detailed here saves time later.
Installing the Support Framing
- Build a strong support frame with marine-grade lumber or aluminum. It’s the base for your plywood floor.
- Attach the frame to the boat, making sure it’s level and steady.
- Use screws or bolts to fix the frame to the hull or transom.
Attaching the Plywood Flooring
Now, put the plywood floor on the frame. Spread marine-grade adhesive or sealant on the beams. Then, place the plywood panels carefully. Make sure each piece fits well and is fastened to the frame.
After the plywood is down, seal the edges and seams with waterproof sealant. This keeps water out and keeps the boat strong.
“Building a boat floor at home is a rewarding project that can transform the look and function of your vessel. By following these step-by-step instructions, you’ll be able to create a custom, high-quality floor that meets your specific needs and preferences.”
Measuring and Cutting the Plywood
When building a boat floor, getting the measurements right is key. The marine plywood panels need to fit perfectly in the hull. This step is crucial for a strong and lasting boat deck installation.
Taking Accurate Measurements
To get a perfect fit, follow these steps for accurate measurements:
- Measure your boat’s interior length and width. Remember any obstructions or irregularities that might affect the plywood’s placement.
- Write down the exact dimensions, including the bow, midship, and stern sections.
- Use a flexible tape measure to capture your boat’s hull contours. This is important for curved or bent areas.
- Record the measurements on a diagram or sketch. Note any unique features or angles for the marine plywood flooring installation.
With these detailed measurements, you can cut the plywood to the exact size and shape for your boat’s interior.
“Proper measurements are the foundation for a seamless boat floor installation. Take your time and double-check the numbers to ensure a perfect fit.”
By following these best practices for accurate measurements, you’ll have a successful and easy boat deck installation process.
Installing the Support Framing
Building a strong and level boat floor starts with a solid support framing system. This system is key to keeping the plywood flooring stable and in place. It gives the whole project a solid base.
First, measure your boat’s interior and cut the boat floor construction materials to fit. You’ll use pressure-treated lumber or marine-grade plywood for this. This creates a grid that supports the floor and any extra cargo or equipment. The size and spacing of these beams depend on your boat’s size and design. So, it’s crucial to plan and measure carefully for a perfect fit.
- Measure the boat’s interior dimensions to determine the size of the support framing required.
- Cut the pressure-treated lumber or marine-grade plywood to the appropriate lengths and widths.
- Assemble the support framing, creating a grid-like structure that will evenly distribute the weight of the floor.
- Position the support framing within the boat’s hull, ensuring it is level and securely fastened to the boat’s structure.
After setting up the support framing, you can start attaching the plywood flooring. This foundation is essential for a strong and lasting boat floor. It’s designed to handle the challenges of life on the water.
Attaching the Plywood Flooring
Now that the support framing is ready, it’s time to add the marine plywood. This is the heart of your DIY boat floor. It needs to be securely attached to last through the challenges of boating.
Securing the Plywood
Start by measuring and cutting the marine plywood to fit your boat’s floor. Make sure it fits perfectly to avoid gaps. Use marine-grade adhesive to attach it to the framing, pressing down evenly for a strong bond.
Then, place screws or fasteners along the edges and in the middle. This strengthens the plywood to the frame, making your boat’s floor solid and dependable.
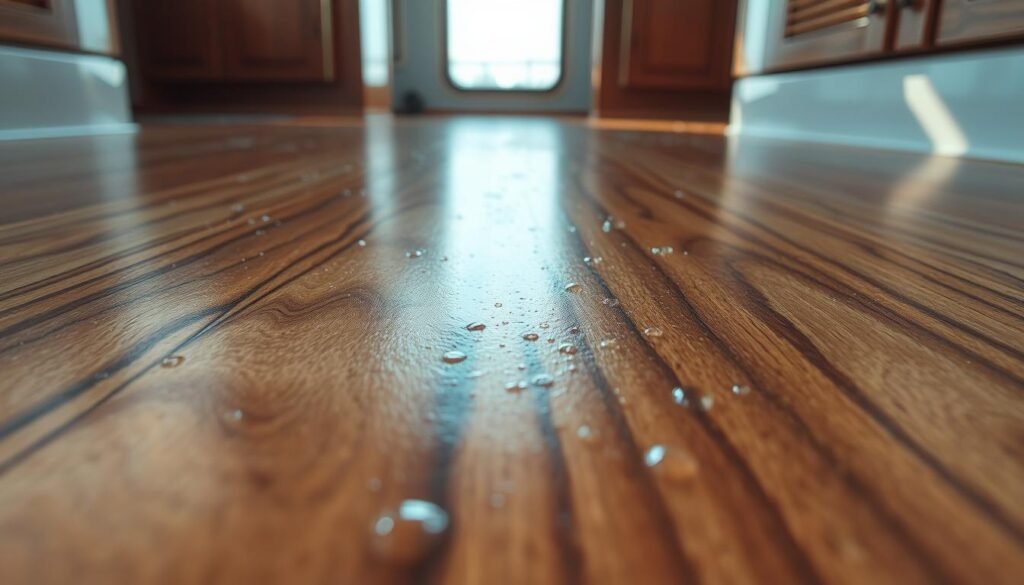
Sealing and Waterproofing
To keep your marine plywood flooring dry, seal and waterproof it. Use a marine sealant or polyurethane coating. Make sure to cover all seams, edges, and screw holes. This will protect the plywood from moisture and extend its life.
By doing these steps, you’ll have a beautiful boat deck installation. It will look great and be strong for all your boating adventures.
Adding Storage Compartments (Optional)
Building a boat floor at home lets you add custom storage. This makes your boat more functional and keeps things tidy. It also makes sure your gear is easy to find.
Adding storage to your DIY boat flooring is smart and affordable. It makes your boat feel more like your own. You get more room for your stuff and it’s all organized.
Designing Storage Compartments
Here’s how to add storage to your boat floor:
- Think about what you need to store. This could be fishing gear, safety stuff, or fun toys.
- Measure the space under your floor. This helps you figure out where and how big your storage should be.
- Make a simple plan. Sketch out where and how big your storage will be. Make sure it fits with your floor design.
- Pick strong, water-proof materials. Plywood or high-density polyethylene work well.
- Make sure you can get to your stuff. Use hinged lids or panels that you can take off.
Adding custom storage to your DIY boat flooring makes boating better. It makes your boat more organized and efficient. This is a big plus for your cost-effective boat renovations.
| Feature | Benefit |
|---|---|
| Customized Storage Compartments | Maximize available space and keep essential gear organized |
| Durable, Waterproof Materials | Ensure long-lasting and reliable storage solutions |
| Easily Accessible Entry Points | Convenient access to stored items |
Adding storage to your DIY boat flooring changes your boat for the better. It makes your boating trips more functional and fun.
Finishing Touches and Non-Skid Surfaces
Now that your DIY boat floor is in, it’s time for the final touches. You want a safe, non-skid surface. Marine-grade epoxy coatings are key to protect your plywood and make it slip-resistant.
Applying Marine-Grade Coatings
Begin by cleaning and degreasing the plywood. This ensures the epoxy sticks well. Then, apply a top-notch marine-grade epoxy, following the instructions closely. These coatings are made to last in the marine environment and keep water out.
Adding a non-skid additive to the epoxy is a good idea. These particles make the surface rougher, improving safety and grip, especially when wet.
Once the epoxy is dry, apply a final top coat. This adds extra protection and a glossy finish. It makes your boat floor look great and keeps it in top shape for years.
By sealing and finishing your DIY boat floor with marine-grade epoxy and non-skid surfaces, you create a safe and durable base. This care ensures a better boating experience and protects your investment for many seasons.
Conclusion – How To Build a Boat Floor
Building a boat floor at home is a rewarding and cost-effective project. It can make your vessel more functional and look better. By following the steps and using top-quality materials, you can make a custom, waterproof floor.
This DIY project is great for improving stability, adding storage, or making a non-skid surface. It’s a way to make your boat unique and better. You get to choose everything from the plywood to the marine-grade coatings.
Doing this project can save you money and make your boat better to use. With the right tools and materials, you can make a beautiful and useful boat floor. It will last for many years.
FAQ – How To Build a Boat Floor
What are the benefits of having a boat floor?
A boat floor adds stability and security. It also lets you store gear and equipment underneath.
What type of plywood is best for a boat floor?
Marine-grade plywood is the top choice. It’s durable and resists moisture well.
What tools and supplies are needed to build a boat floor?
You’ll need specific power tools and fasteners. They ensure the floor is secure and watertight.
How do I take accurate measurements for the boat floor?
Getting precise measurements is key. The plywood must fit snugly in the boat’s hull.
How do I install the support framing for the boat floor?
The support framing is crucial. It keeps the floor stable and securely in place.
How do I attach the plywood flooring?
Securely fastening the plywood is important. You also need to seal and waterproof the floor for a durable finish.
Can I add custom storage compartments to the boat floor?
Yes, you can. Building a boat floor at home lets you add custom storage and features.
How do I finish the boat floor with a non-skid surface?
Use marine-grade coatings and sealants. They create a non-skid surface and protect the plywood from the elements.
