Imagine building your own wooden rowboat from scratch at home. Is it possible for the average person to do this? The answer might surprise you. In this guide, we’ll show you how to build a row boat at home. You’ll learn to turn your DIY dreams into reality.
Key Takeaways – How To Build a Row Boat
- Discover the essential materials and tools needed to build a rowboat at home
- Learn how to properly cut and prepare the boat parts for seamless assembly
- Master the techniques for stitching the sides, attaching the transom, and installing seats and frames
- Understand the importance of fiberglassing and epoxy work for a durable and watertight finish
- Explore the final touches, including painting, varnishing, and hardware installation
Are you ready to start a DIY boatbuilding journey? Create a unique wooden boat to call your own. Let’s explore the secrets of home boat building projects. You’ll feel a sense of pride and have a seaworthy boat to enjoy.
Introduction to Building Rowboats
Building your own rowboat at home is a rewarding experience. It brings joy and satisfaction to both experienced and amateur builders. This section will give you an overview of the key techniques, materials, and tips for building a sturdy and functional rowboat in your backyard or garage.
Rowboats are versatile, making them great for many water activities. From leisurely cruises to fishing, this article will show you how easy DIY boatbuilding can be. You’ll learn to create your own small craft that meets your needs and preferences.
“The joy of building your own boat is not just in the final product, but in the journey itself. It’s a rewarding process that allows you to connect with the art of wooden boat construction and develop a deeper appreciation for the craftsmanship that goes into creating these beautiful vessels.”
Whether you’re an experienced amateur boat building enthusiast or a complete novice, this introduction is for you. It sets the stage for your home boat building projects. Get ready to unleash your creativity, hone your skills, and proudly display your very own handcrafted rowboat.
Materials and Tools Needed
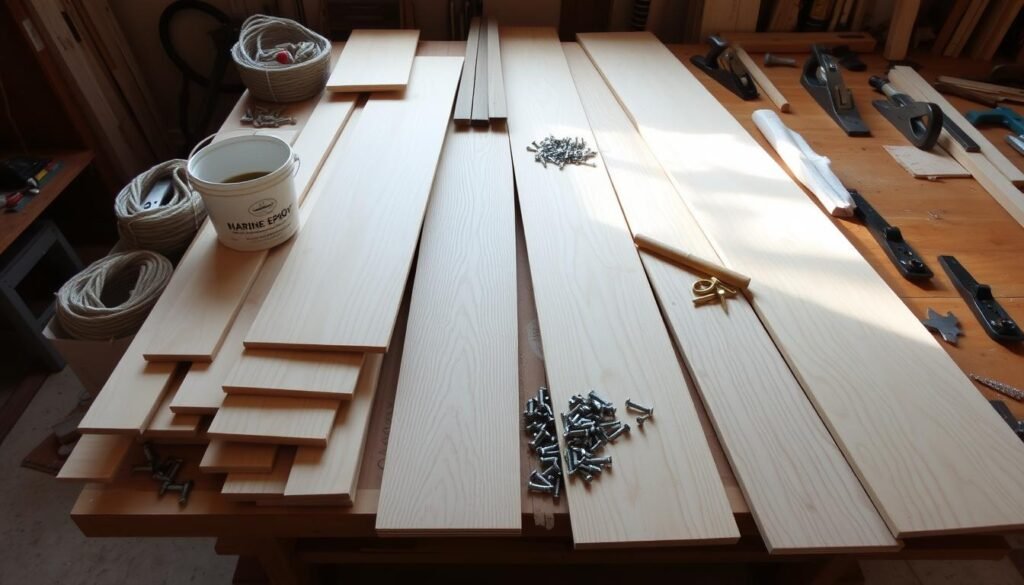
To build a strong and useful rowboat at home, you need to pick the right materials and tools. Let’s look at the key parts that will start your boatbuilding adventure.
Plywood Sheets
The main part of your boat’s hull will be made from exterior-grade or marine-grade plywood. These special sheets can handle the weather and give your boatbuilding project the strength and durability it needs. It’s very important to choose the right plywood for your boat plans to last long.
Epoxy and Fiberglass
Epoxy resin and fiberglass are key for making the structure stronger and water-resistant. These boatbuilding materials will seal the seams, make the hull stronger, and protect it from water. This way, your rowboat can handle the water’s challenges.
Basic Woodworking Tools
- Circular saw: For cutting the plywood sheets to the desired size and shape
- Straight edge rule: Ensures accurate measurements and straight cuts
- PVC pipe: Helps create the curved patterns and forms for the boat’s hull
- Clamps: Secure the components during the assembly process
- Sandpaper: Smooth the surfaces and prepare them for the epoxy and fiberglass application
These boatbuilding tools are the basics for your project. They let you measure, cut, and put together the parts of your rowboat. With these important materials and tools, you’re ready to make a sturdy and useful boat at home.

Cutting and Preparing the Parts
The first step in building your row boat is to cut and prepare the parts accurately. This is based on the boat plans you have. It’s important to do this carefully to ensure a good start.
Start by drawing the patterns on the plywood sheets with a straight edge and PVC pipe. This helps make smooth, curved lines. Make sure to measure each piece well to fit perfectly later. Use tools like a jigsaw or circular saw to cut out the parts.
- Lay out the patterns on the plywood sheets using a straight edge rule and PVC pipe.
- Meticulously measure each component to guarantee a proper fit during assembly.
- Employ your boatbuilding tools to accurately cut out the parts, with special attention to the seat tops.
By using these boat building techniques, you’ll get all the parts ready for the next step. With your parts prepared, you can move on with confidence. You’ll know your project has a strong foundation.
Assembling the Hull
Building the hull of a rowboat is key in boat building. It involves stitching the sides together and attaching the transom. This makes a strong and safe boat. Whether you’re building a wooden boat or a DIY project, knowing these steps is crucial.
Stitching the Sides
First, place the butt blocks along the plywood edges. This makes sure the sides fit well together. Then, use plastic wire ties to stitch the sides. This creates a strong base that will be made even stronger with epoxy and fiberglass.
- Carefully align the butt blocks along the plywood edges
- Use plastic wire ties to stitch the sides together
- Maintain a consistent tension and spacing between the stitches
Attaching the Transom
Next, fit and secure the transom, the boat’s back end. Measure and cut the transom to fit perfectly. Then, place it in the hull and attach it with epoxy and screws. This makes the boat strong and water-tight.
- Measure and cut the transom to the desired size
- Position the transom within the hull structure
- Secure the transom using epoxy and screws
Learning to stitch the sides and attach the transom is vital. It helps build a solid hull. This hull is the base for the rest of the rowboat.
How To Build a Row Boat at Home
Installing Seats and Frames
Building a rowboat at home is a big project. One key part is installing the seats and frames. This step needs careful measurements and attention to detail. We’ll show you how to add these important parts to your boat.
Start by measuring and placing the middle seat frame. This frame is the base of the main seating area. After securing the middle frame, install the rear and bow seat frames. Wait to make the seat tops until the frames are set. This ensures a perfect fit.
- Measure and position the middle seat frame
- Install the rear seat frame
- Attach the bow seat frame
- Wait to create the seat tops until the frames are in place
Trimming the frames to fit properly can be a challenge. This step is crucial for stability and function. By tackling these issues, you’ll make a strong and good-looking rowboat.
“Building a rowboat from scratch is a deeply rewarding experience that allows you to create a unique and personalized watercraft.”
Fiberglassing and Epoxy Work
Building a strong and lasting rowboat needs careful attention to detail, especially in fiberglassing and epoxy work. This important step in boat building techniques makes sure your wooden boat is strong and can handle water.
Filleting the Seams
Before adding fiberglass, you must smooth out the boat’s parts. This is done by “filleting” the seams. Use an epoxy putty to create a rounded edge along the joints and corners. This makes the boat look good and makes it stronger.
Fiberglassing the Exterior
After filleting, it’s time to add fiberglass to the outside of the boat. Start by wetting the fiberglass tape with epoxy resin. Then, apply the fiberglass, making sure it fits the boat’s shape. Finish with a layer of epoxy to seal and protect your DIY boatbuilding project.

By following these steps carefully, you’ll make a sturdy, seaworthy rowboat. It will last for many seasons.
Adding Finishing Touches
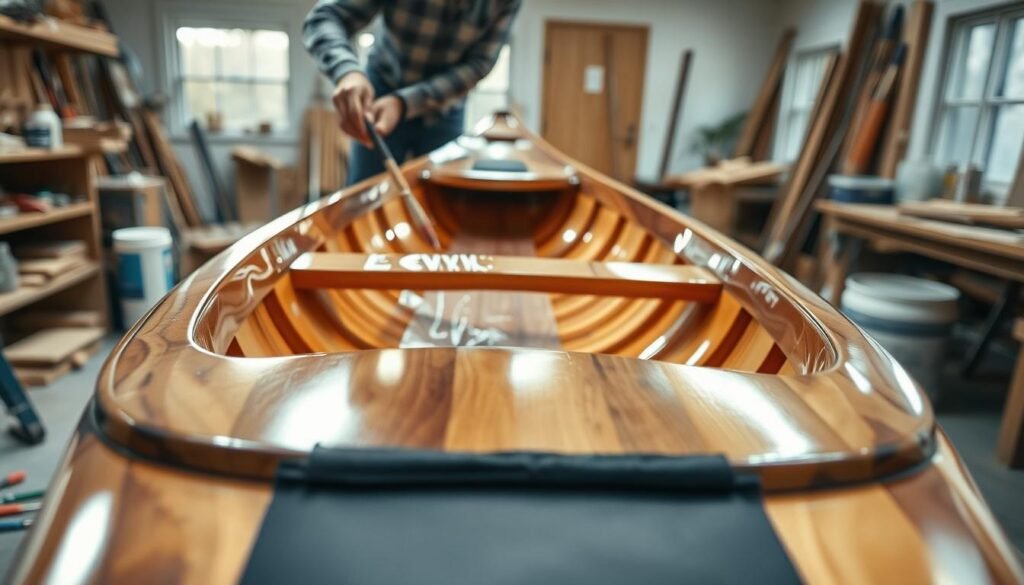
As you near the end of your homemade rowboat project, it’s time for the final touches. These will make your boat look beautiful and work well on the water. You’ll paint, varnish, and add important hardware to finish it off.
Painting and Varnishing
Protecting your rowboat’s wood is key to its lasting beauty. Choose a top-notch paint or varnish made for the sea. It will keep your boat looking great for years, fighting off sun, wind, and water.
Apply the paint or varnish in thin, even layers. Follow the instructions closely for the best look.
Installing Hardware
To make your rowboat fully functional, you’ll need to add oarlocks, cleats, and handles. Measure and mark where they should go. Then, use the right tools and fasteners to attach them securely.
These details will make your home boat building projects shine. Your small craft construction will show off your boat building techniques and hard work. You’ll have a beautiful, seaworthy rowboat ready for your next adventure.
Conclusion – How To Build a Row Boat
Building a rowboat at home is incredibly rewarding. You’ve learned how to build a wooden boat step by step. Now, you can create your own rowboat, showing off your skills.
Your rowboat can be used for fishing, exploring, or just for fun. It will become a special part of your life, connecting you with the water. The skills you’ve learned can help you build more boats in the future.
Start your boat-building adventure today. With the help of this article, you can make a unique and useful rowboat. It will bring you joy and pride. So, begin your journey and see the happiness of building your own boat.
FAQ – How To Build a Row Boat
What materials and tools are needed to build a rowboat at home?
You’ll need exterior grade plywood sheets and marine plywood. Also, epoxy and fiberglass for building and strengthening. Essential tools include a circular saw, straight edge rule, and PVC pipe for curves.
How do I cut and prepare the parts for the rowboat?
First, lay out patterns on plywood sheets with measurements and tools. Use a straight edge rule and PVC pipe. Cut parts carefully, especially seat tops, for a good fit.
What is the process for assembling the hull of the rowboat?
Stitch the sides with plastic wire ties. Attach the transom to the hull structure. Place butt blocks correctly for a strong hull.
How do I install the seats and frames within the rowboat?
Measure and position the middle, rear, and bow seat frames. Trim frames for a perfect fit. Solve common assembly problems.
What is the process for fiberglassing and epoxy work on the rowboat?
Fillet seams with epoxy putty. Fiberglass the exterior. Wet out fiberglass tape and apply a final epoxy layer for protection.
What finishing touches can I add to the completed rowboat?
Choose paints and varnishes to protect wood and improve looks. Install oarlocks and other hardware for full functionality.


