
Are you a DIY enthusiast building your own boat? Worried about keeping it watertight and lasting long? This guide has got you covered. We’ll teach you how to waterproof your homemade boat, making it ready for the elements and lasting for years.
We’ll cover everything from why waterproofing is key to the step-by-step process. You’ll learn how to make your boat truly water-resistant.
But first, let’s ask a question: What’s the secret to making a leaky DIY boat watertight? Find out as you read the ultimate guide to waterproofing your boat.
Key Takeaways
- Understand the vital importance of waterproofing for boat longevity
- Discover common waterproofing challenges faced by DIY boatbuilders
- Learn about the essential materials and tools needed for a successful waterproofing project
- Grasp the techniques for properly preparing the boat surface before application
- Explore the different types of sealants and coatings suitable for DIY boat waterproofing
Introduction to Waterproofing DIY Boats
Building a DIY boat is a thrilling project. But, making sure it lasts is key. Waterproofing is a must to keep the boat safe from water, humidity, and UV rays. Without it, the boat can rot, weaken, and face other problems.
The Importance of Waterproofing for Boat Longevity
Waterproofing is vital, whether you built your boat from scratch or used an old one. Without it, your DIY boat might get damaged by water, mold, and weaken. Good waterproofing can make your boat last longer and stay seaworthy for years.
Common Waterproofing Challenges for DIY Boatbuilders
- Selecting the right waterproofing products for your boat’s materials and design
- Applying waterproofing sealants and coatings correctly to ensure complete coverage
- Maintaining the waterproofing over time, as it can wear down due to exposure to the elements
Beating these challenges is key to keeping your DIY boat watertight. Knowing the importance of waterproofing and the common problems helps. This way, you can protect your investment and enjoy your boat for many seasons.
Materials and Tools Needed for Waterproofing
Waterproofing your DIY boat needs the right materials and tools. You’ll need marine-grade sealants and coatings, along with essential application tools. Having the right equipment is key for a successful waterproofing project. Let’s look at the main items you’ll need.
Essential Materials for Boat Waterproofing
- Marine-grade sealants and coatings – Choose epoxy resins, silicone, and other waterproof formulas made for boats.
- DIY boat waterproofing materials – Use fiberglass, polyurethane, and other materials to create a strong, weatherproof barrier.
- Boat waterproofing tools – You’ll need brushes, rollers, mixing containers, and more to apply materials evenly.
Necessary Tools for the Job
- Sandpaper and orbital sander for surface preparation
- Paintbrushes and rollers for applying sealants and coatings
- Mixing containers and stir sticks for mixing materials right
- Masking tape and drop cloths to protect areas around your boat
- Protective gear like gloves, goggles, and respirators for safety
With the right DIY boat waterproofing materials and boat waterproofing tools, you’re ready to waterproof your boat. This will keep your DIY boat dry and durable for many years.
“Proper preparation and the right materials are key to achieving a long-lasting, weatherproof seal on your DIY boat.”
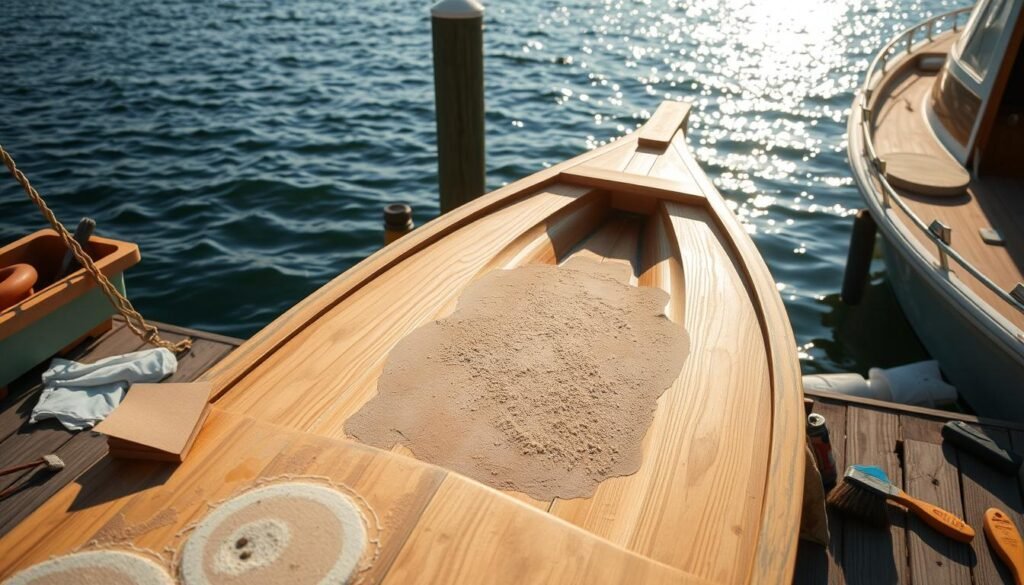
Preparing the Boat Surface for Waterproofing
Getting the boat surface ready is key for boat surface preparation. You need to sand and clean it well before applying any sealants or coatings. This makes the waterproofing last longer and work better.
Sanding and Cleaning Techniques
Begin by sanding the boat’s surface with different DIY boat sanding techniques. Start with 80-100 grit sandpaper to remove old coatings and imperfections. Then, move to finer grits like 120-150 to get a smooth finish.
After sanding, clean the surface well with cleaning methods for waterproofing. Use a degreaser or solvent-based cleaner to get rid of dirt, grease, and other stuff that might stop the waterproofing from sticking.
Finally, dry the surface with a clean, lint-free cloth. This makes sure it’s dry and ready for the waterproofing steps that come next.
“Proper surface preparation is essential for ensuring the long-term success of your DIY boat waterproofing project.”
| Sanding Grit | Purpose |
|---|---|
| 80-100 Grit | Remove existing coatings and imperfections |
| 120-150 Grit | Achieve a smooth, uniform finish |
Applying Waterproof Sealants and Coatings
Choosing the right sealants and coatings is crucial for a waterproof DIY boat. You might want a durable epoxy resin or a flexible silicone-based solution. Knowing your options helps keep your boat watertight for years.
Types of Sealants and Coatings for Boats
Epoxy resin is a top pick for boat waterproofing. Epoxy-based boat waterproofing sealants are durable, stick well, and resist water and other elements. They create a strong barrier that goes deep into the boat’s materials, lasting a long time.
If you prefer something flexible and easy to use, silicone-based waterproofing coatings are a good choice. These silicone-based boat waterproofing products stretch with the boat without cracking. They’re also simple to apply, making them a favorite for DIY projects.
It’s important to prepare the surface and apply the sealant or coating correctly. Getting the right consistency and coverage is essential. This ensures your boat stays dry and protected for years.
“Waterproofing your DIY boat is essential for its longevity and performance. Choosing the right sealants and coatings can make all the difference in keeping your vessel dry and secure.”
how to waterproof a DIY boat
Building your own boat is a fulfilling project. But, making sure it stays dry is key. This guide will show you how to waterproof your DIY boat. You’ll learn to make a strong and lasting boat.
Preparing the Boat Surface
Start by sanding and cleaning the boat’s surface well. This makes sure the waterproofing sticks right. Use fine-grit sandpaper to smooth out any rough spots or old paint. Then, clean off any dust or dirt with a cloth.
Applying Waterproof Sealants and Coatings
After preparing the surface, apply the waterproof sealants and coatings. Follow the instructions on the products closely. Apply them in thin, even layers for a strong seal.
Think about mixing different products, like epoxy resin and marine-grade polyurethane. This will give your boat the best protection.
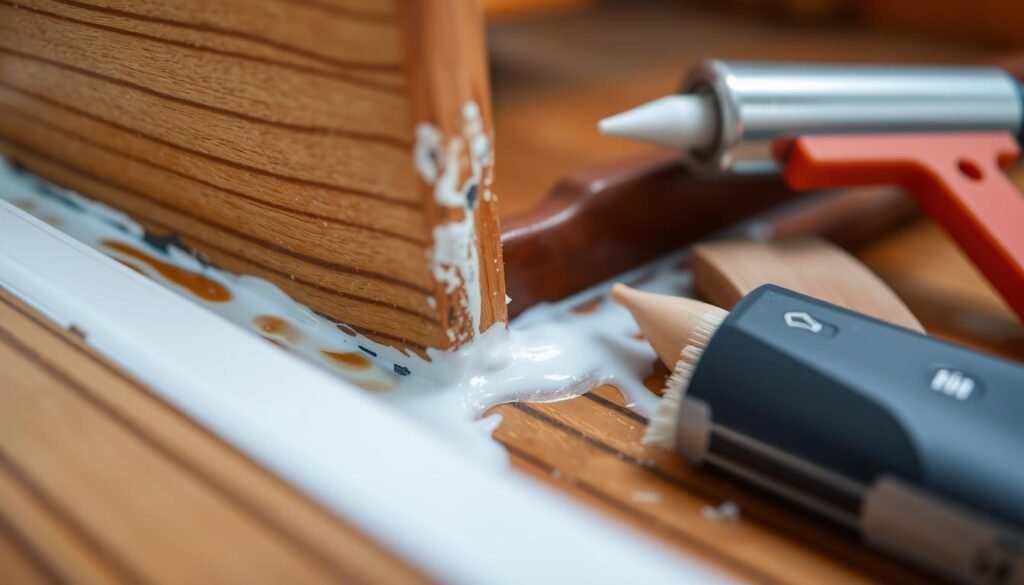
Sealing Seams and Joints
Focus on the seams and joints, as water often gets in there. Use a flexible, waterproof sealant to seal these spots. This will make your boat watertight.
By following this guide, you’re on your way to a sturdy and reliable boat. Don’t forget to keep up with maintenance and reapply waterproofing as needed. This will keep your boat dry for many years.
Waterproofing Specific Boat Areas
Ensuring your DIY boat stays dry means focusing on seams and joints. These spots are prone to leaks and need careful sealing. This keeps your boat’s structure strong and watertight.
Sealing Seams and Joints
Keeping your boat’s seams and joints dry is key for DIY boat leak prevention. Sealing these areas well boosts your boat’s water resistance. It also helps keep the boat’s structure sound. By sealing these waterproofing high-risk boat areas, your DIY boat will stay dry longer.
- Clean and prepare the seam or joint surface, removing any debris or irregularities.
- Apply a high-quality, flexible sealant specifically designed for marine applications, ensuring complete coverage of the seam or joint.
- Smooth the sealant with a putty knife or spatula to create a seamless, water-resistant barrier.
- Allow the sealant to cure according to the manufacturer’s instructions before launching your boat.
Regular checks and upkeep of these areas are vital. They help keep your DIY boat’s boat seam and joint waterproofing effective over time.
“Proper sealing of seams and joints is the foundation of a watertight DIY boat. Neglecting this crucial step can lead to costly leaks and structural damage down the line.”
Waterproofing Solutions for Different Boat Materials
Waterproofing your DIY boat depends on its materials. Each material needs a specific method to keep it dry. We’ll look at how to waterproof fiberglass and wood boats.
Waterproofing Fiberglass Boats
Fiberglass is a favorite for DIY boats because it’s strong and easy to work with. To make a fiberglass boat waterproof, start by cleaning and sanding it well. Then, apply epoxy resin or polyurethane sealant.
These coatings form a strong, watertight layer. They protect the fiberglass from rain, sea spray, and more.
Waterproofing Wooden Boats
Wooden boats need a special waterproofing method. Wood soaks up water easily, so the sealants must go deep. Use marine-grade varnishes, oil-based paints, or wood sealers for this.
Before applying, sand and clean the wood. This helps the waterproofing stick well.
| Boat Material | Recommended Waterproofing Methods |
|---|---|
| Fiberglass | Epoxy resin, polyurethane sealants |
| Wood | Marine-grade varnishes, oil-based paints, wood sealers |
It’s key to follow the maker’s guide when waterproofing your boat. Good prep and quality products are vital for lasting protection.
Maintaining and Reapplying Waterproofing
Keeping your DIY boat waterproof is a continuous task. It needs regular upkeep and the occasional reapplication of sealants and coatings. As your boat’s waterproofing gets older, watch out for signs of wear. This ensures your boat stays safe from the elements.
Signs of Worn Waterproofing
Look out for these signs that your boat’s waterproofing might need a refresh:
- Visible cracks, peeling, or flaking in the sealant or coating
- Discoloration or fading of the waterproofing material
- Areas where the waterproofing has become soft or spongy
- Increased water absorption or leaks in the boat’s structure
If you spot any of these signs, it’s time to reapply the waterproofing. This will help keep your boat in good shape and extend its life.
When to Reapply Waterproofing
It’s wise to reapply waterproofing every 1-3 years. This depends on your boat’s type, how often you use it, and the environment it’s in. UV rays, saltwater, and physical damage can all wear down your boat’s waterproofing faster.
By keeping an eye out and fixing any waterproofing issues quickly, your DIY boat will stay watertight and safe for many years.
Troubleshooting Common Waterproofing Issues
Starting your DIY boat waterproofing project? Be ready for any challenges. Issues like uneven sealant, peeling, or cracking coatings are common. But, with the right tips, you can fix these problems and keep your boat dry.
Uneven Sealant Application
Uneven sealant is a big problem. It leaves some areas of your boat exposed to water. To avoid this, follow the product instructions carefully. Use the right tools, like rollers or brushes, for a smooth finish.
Peeling or Cracking Sealants
Sealants can peel or crack over time. This might happen due to UV rays, temperature changes, or bad surface prep. If you see peeling or cracking, remove the old sealant and apply a new coat.
Water Infiltration
Water can still get in, even with good waterproofing. Look for leaks in seams, joints, or around fittings. Fixing these leaks might mean adding more sealant, caulking, or even fixing structural issues.
| Common Waterproofing Issue | Potential Causes | Troubleshooting Solutions |
|---|---|---|
| Uneven Sealant Application | – Improper application techniques – Incorrect product selection – Inadequate surface preparation | – Follow product instructions carefully – Use recommended application tools – Ensure thorough surface preparation |
| Peeling or Cracking Sealants | – Exposure to UV rays – Temperature fluctuations – Improper surface preparation | – Remove damaged material – Reapply fresh sealant or coating – Ensure proper surface preparation |
| Water Infiltration | – Leaks in seams, joints, or around fittings – Structural issues | – Apply additional sealant – Re-caulk problem areas – Address any underlying structural problems |
Knowing these common issues and how to fix them will keep your DIY boat dry. Regular maintenance and quick fixes are key to a watertight boat. Stay on top of your waterproofing to protect your boat for years.
DIY Boat Waterproofing Tips and Tricks
Learning DIY boat waterproofing is more than just using a sealant. We’ve gathered expert advice from seasoned boatbuilders. These tips will help you get the best results in waterproofing your boat.
Mixing Ratios: The Key to Effective Sealants
The right mix of sealant is key. Always check the instructions and test small amounts first. Too much sealant can make a mess, while too little might not protect your boat.
Application Techniques: Smooth Sailing Ahead
How you apply the sealant matters a lot. Use a good brush or roller for an even coat. Work in sections and focus on seams and joints.
Timing is Everything: Patience Pays Off
Don’t rush the waterproofing. Wait for the sealant to dry and cure as the instructions say. Launching your boat too soon can ruin the seal and let water in.
| DIY Boat Waterproofing Hacks | Boat Waterproofing Best Practices | Expert Tips for DIY Boat Waterproofing |
|---|---|---|
| Use a roller for even application | Follow manufacturer’s drying and curing instructions | Experiment with mixing ratios to find the perfect balance |
| Apply sealant in overlapping sections | Focus on seams, joints, and other high-risk areas | Be patient – rushing the process can lead to problems |
| Invest in high-quality brushes and rollers | Conduct small-scale tests before full application | Consult experienced boatbuilders for additional insights |
Follow these tips to make your boat waterproof and durable. Paying attention to details and being patient are key to a successful DIY waterproofing project.
“Waterproofing your DIY boat is an essential step in ensuring its longevity. With the right techniques and a bit of know-how, you can create a watertight seal that will keep your vessel safe and secure for years to come.”
Conclusion
Starting your DIY boat-building project? Waterproofing is key. This guide has shown you how to keep your boat dry and safe for years. It covers all the important steps and things to think about.
You now know how to pick the right materials and tools. You also know how to apply sealants and coatings correctly. With these skills, you can make your DIY boat waterproof. This means you can enjoy your boat without worrying about leaks.
Good waterproofing does more than just keep your boat dry. It also makes it safer and better to use. Now, you’re ready to handle any waterproofing issues that come up. This will make your boat-building project a huge success.
FAQ
Why is waterproofing important for the longevity of a DIY boat?
Waterproofing keeps your boat safe from water, humidity, and UV rays. Without it, your boat can rot and weaken. It’s key for keeping your boat safe and in good shape for years.
What are some common waterproofing challenges faced by DIY boatbuilders?
DIY builders often struggle to find the right products and apply them right. Keeping the seal tight and avoiding leaks is hard. These are big challenges for DIY builders.
What materials and tools are needed for waterproofing a DIY boat?
You’ll need marine-grade sealants and coatings like epoxy and silicone. Also, tools like brushes, containers, and sandpaper for getting the surface ready.
How should the boat’s surface be prepared before applying waterproofing?
Start by sanding and cleaning the surface. Use different grits to get a smooth finish. Clean well so the sealants stick right.
What types of waterproof sealants and coatings are suitable for DIY boats?
Epoxy resin and silicone are good choices. The guide shows how to mix and apply them. This ensures they work well on your boat’s materials.
How can specific areas of the boat, like seams and joints, be effectively waterproofed?
Pay extra attention to seams and joints. They need special care to avoid leaks. The guide has tips for keeping these areas dry and strong.
How do the waterproofing needs differ for boats made of different materials, such as fiberglass or wood?
Different materials need different waterproofing methods. The guide gives advice for each material. This helps you choose the best method for your boat.
How often should waterproofing be maintained and reapplied?
Waterproofing needs regular upkeep and sometimes a fresh coat. The guide shows when to reapply and how. This keeps your boat protected.
What are some common issues that DIY boatbuilders may encounter during the waterproofing process?
Builders might face problems like uneven application or sealants peeling. The guide has solutions for these issues. It helps ensure your waterproofing works well.
What are some useful tips and tricks for enhancing the DIY boat waterproofing process?
The article shares tips and tricks from experienced builders. It covers mixing, applying, and more. These tips can help you get better results.
